Home Projects for January 2017
This month I was able to get back to working on my house. It was very frustrating to be physically limited to working on my house due to my bicycling injury. I am glad that I am getting back to normal.
The previous location of my network was in the guest bedroom closet.
January 15 - Making the attic safe to work.
I started working on making the platform in the attic above the hall safer to walk on. I have been working in the area as it is adjacent to the master bathroom. The existing plywood was un even and not completed supported. I also had to temporarily remove some of the plywood decking to expose the area where I was installing the new data center and access point.
Garage Attic Platform
I have been climbing up these attic ladder stairs for a long time. I decided to add some plywood at the top where I step every time I go up or down. the addition of the plywood makes it safer.
 |
| Top of the stairs attic access above the garage before adding plywood decking |
 |
| Top of the stairs attic access above the garage after adding plywood decking |
Fixing the attic decking above the hallway near water heater
The original construction for this area was not meant for storage like the area above the garage. This area was really a bad place to walk. I decided to rebuild it using deck planks. I first had to cut 2x6 to add to the existing joist and make an level plane to attach the deck planks.
 |
| This shows the low area where I will add support. Water heater is on the right. |
 |
| The plywood is directly over the hall and I will have to remove it to get to the area for my networking project. |
 |
| I have temporarily removed the plywood to expose the area that I will be working. The deck plank on the right is six inches below the existing deck surface. |
 |
| I used my toilet extension for my saw horse on this project. I am glad I had ti during my recovery. It is stored in the attic space so I decided to use it. |
 |
| Another view of my work area. Water heater is on the left. |
 |
| I added 2x4 supports to add my 2x6 on top of the existing ceiling joists. |
 |
| Thsi is the fan above the guest bathroom. It was installed backwards by the roofing contractors. This is why the decking was left in bad shape. I will turn it around so the vent goes to the back of the house and will fit nicely beneath the decking in the attic. |
 |
| I have the joist supports installed. If you look closely you will notice that the ones that I added are a lighter color of wood than the original wood. |
 |
| Phase one of the attic deck is complete. Now I have a safe area to work on the networking project. |
January 22 - Installing LED light in the hall closet.
For the longest time I have waned a light in our hall closet. I decided to place the light switch and run power to the light on the same wall as the switch in the laundry room which shares a wall.
 |
| My diagram that I used to plan my work |
 |
| I had to cut an additional hole in the wall so i could pass my power wire through a horizontal wall member. I used Gorilla glue to fix four pieces of plywood that ill be used to secure replacement drywall. |
 |
| Clamps removed |
 |
| Wall ready for mud |
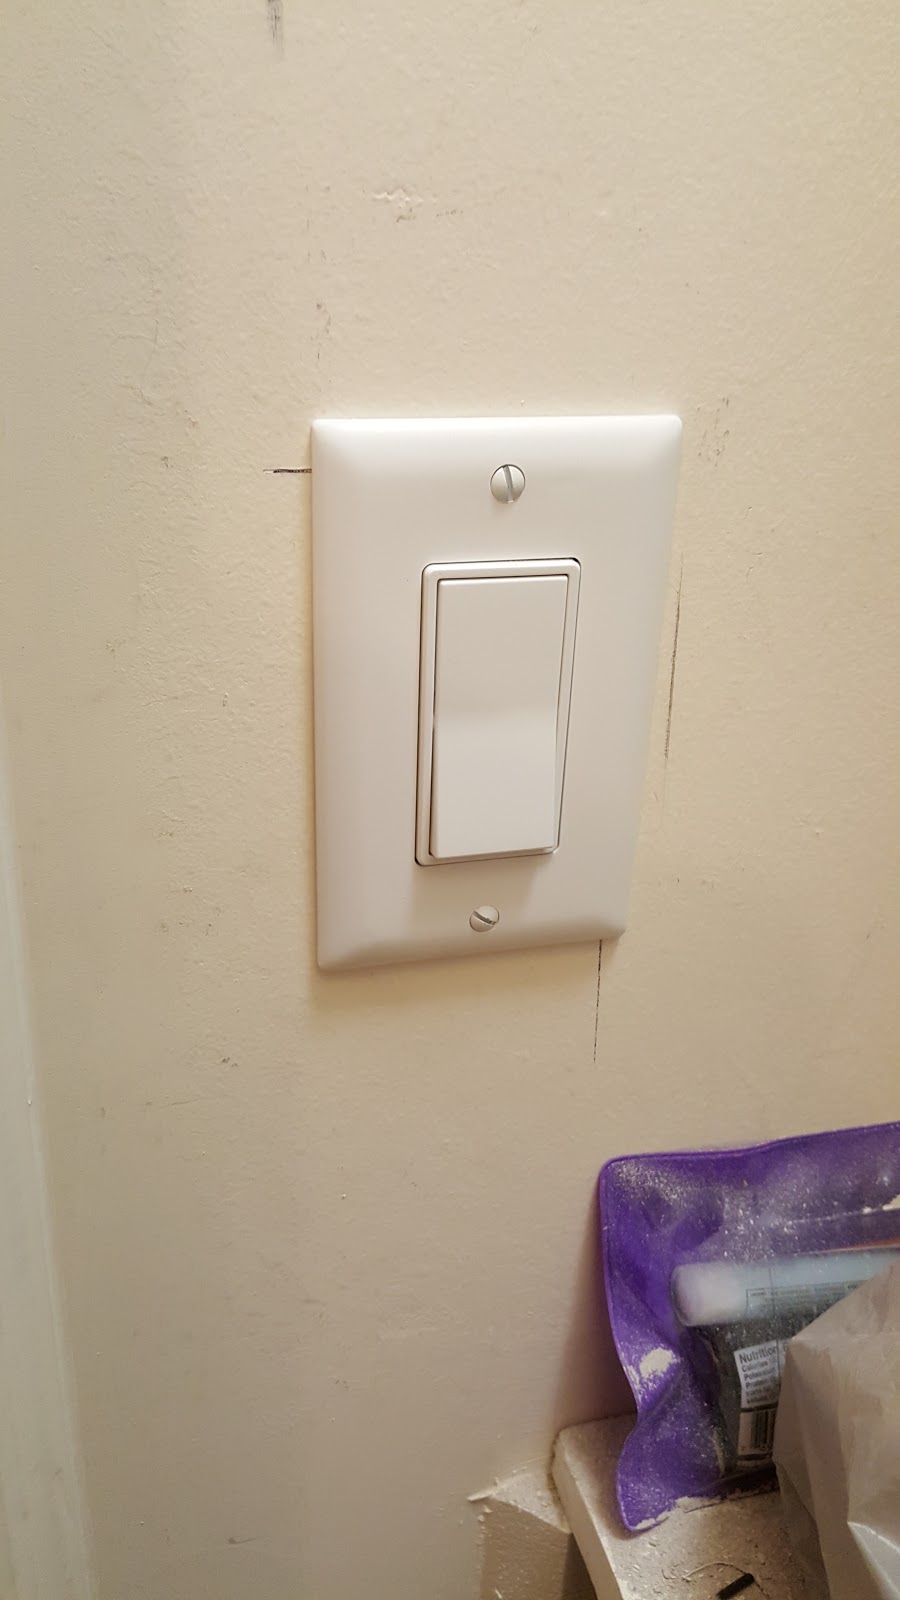 |
| New light switch is installed |
 |
| LED light without bezel |
 |
| LED light with bezel |
January 22 - Installing data connections in the hall closet.
 |
| I am adding two data boxes and one power outlet |
 |
| This is the two shelves below the data and power connections. |
January 22 - The old location of network.
 |
| Network equipment on the clothes closet shelf |
 |
| UPS is on the floor and power is running via an extension cord. |
 |
| Ethernet is running through a temporary hole in the wall. This has been like this for almost one year. |
 |
| Meraki access point is hanging from the closet light. Positioning is not level. |
January 28 - Install power to new network closet.
 |
| Pulling two new cables to main power panel I installed two 20 AMP breakers |
 |
| Top of my main power panel. I have previously cut out the wood paneling so that I can access the top of the panel box to all cables with wire nuts |
 |
| The two new breakers are on the right. I have installed all of the 20 AMP breakers since owning this house. 20 AMP breakers have the yellow D on them. |
 |
| This is the Ethernet cable sticking out of the box for the access point. The new location is in the hallway next to the guest restroom. |
January 29 - Finish phase one of new network closet.
 | |
|
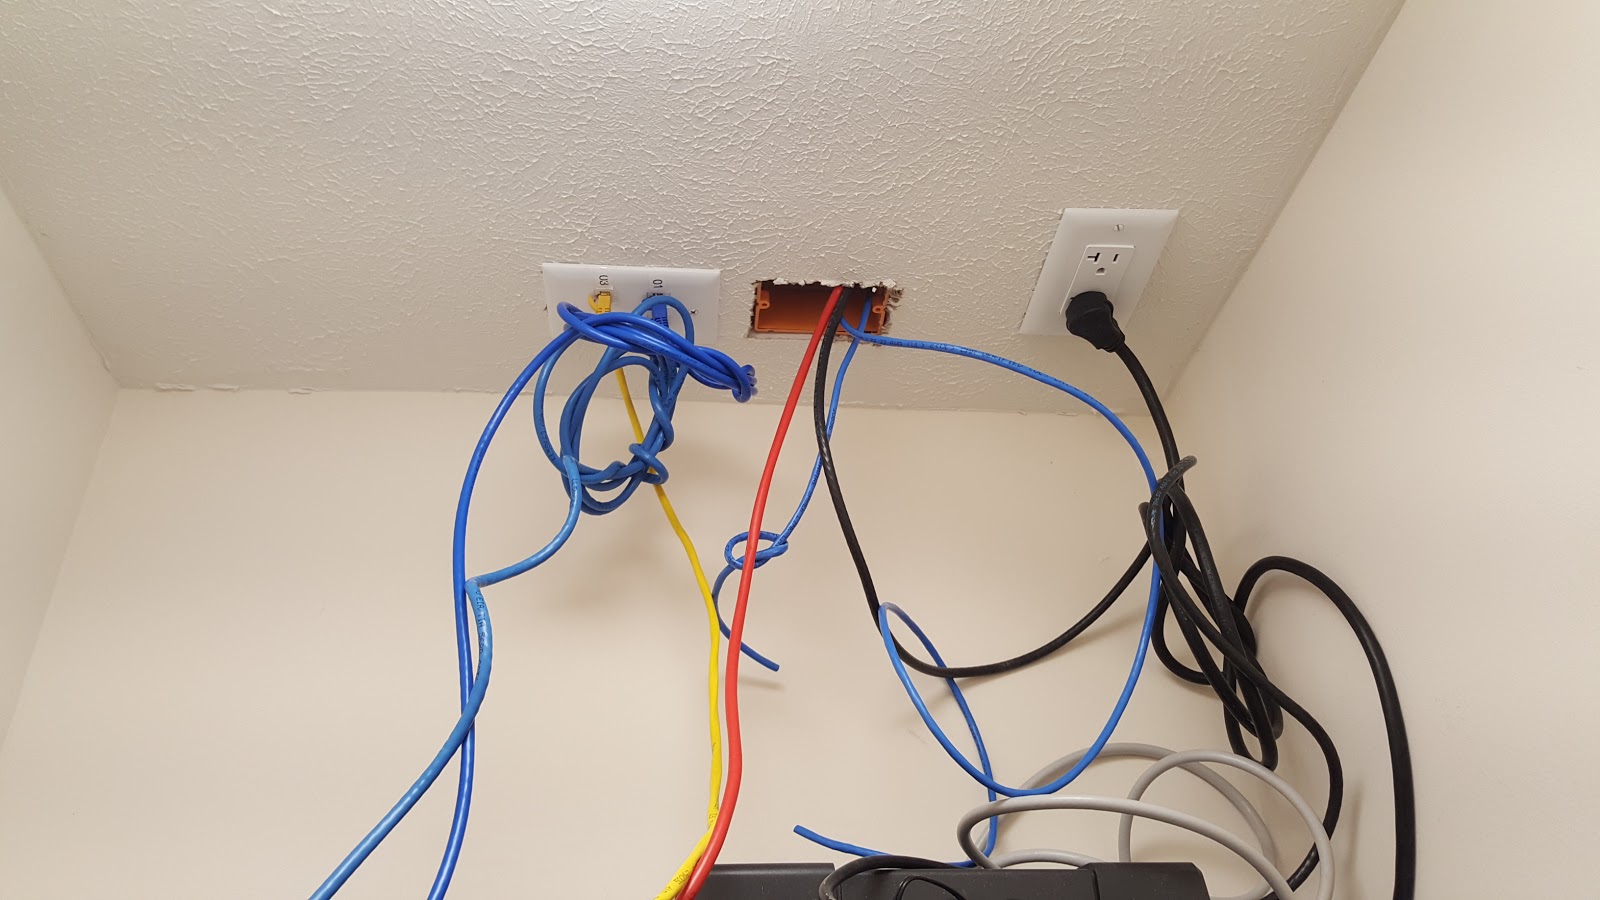 |
| No cable management yet. Power is on the left and completed Ethernet box is on the left. I am running wireless access points and a coax box in the middle. |
 |
| New location for Meraki access point. |


Comments
Post a Comment